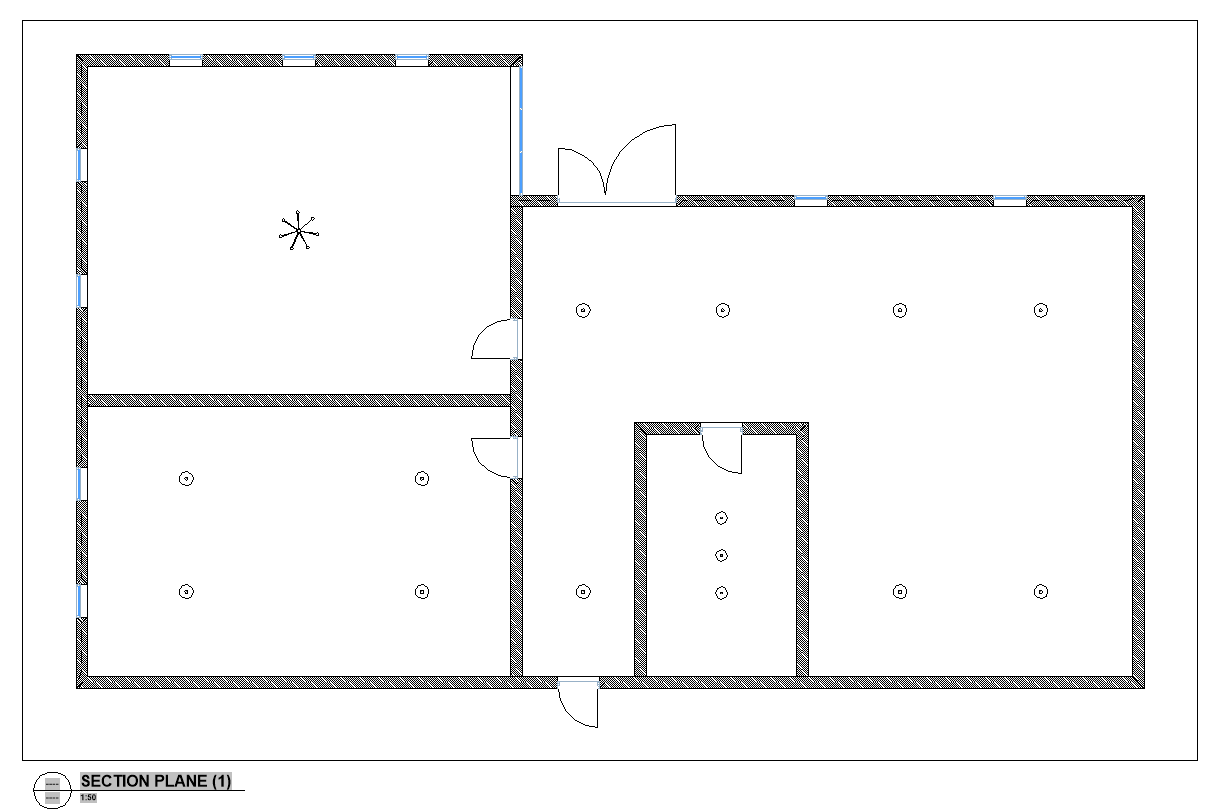
Reflected ceiling plans show a mirror image of the ceiling. These are useful to show
the layout of lights and other installations in the ceiling. To produce the
reflected ceiling plan a section is created. This section displays the part of the
building above the section boundary.
For more information about this command, visit the Command Reference article
BIMSECTION.
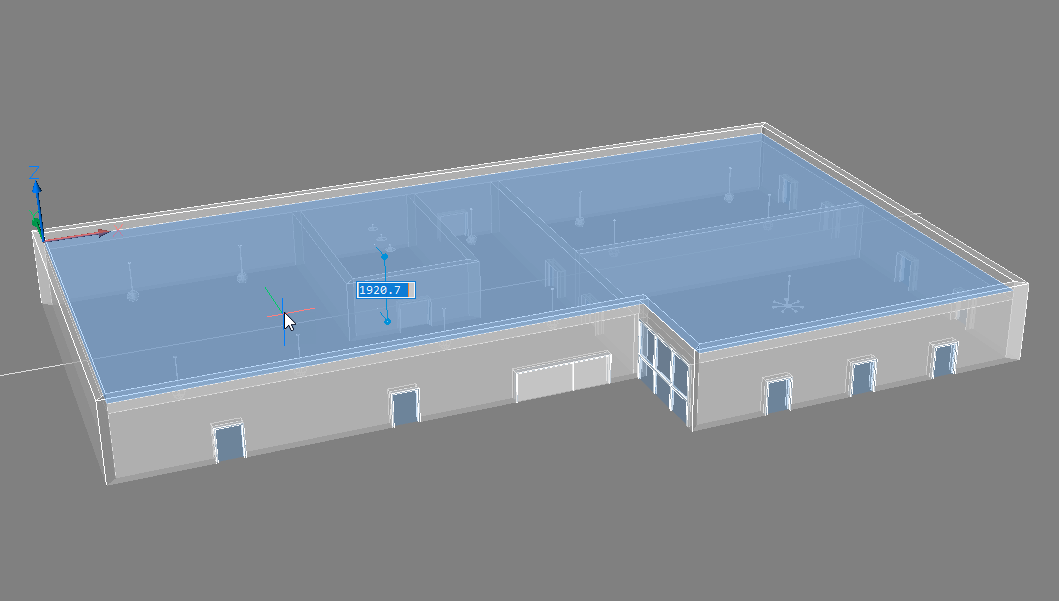
Create a reflected ceiling plan
Select Reflected Ceiling Plan from the ribbon
or enter BIMSECTION into the Command line followed by R to
choose the Reflected ceiling option.
You are
prompted: Select a point to place section:
Select the ceiling or a face with a plane parallel to that of the
ceiling.
You are prompted: Specify distance:
Do one of the following:
Type a value in the dynamic dimension field to offset the section
from the initial position.
Left-click when the section plane is at the location you want.
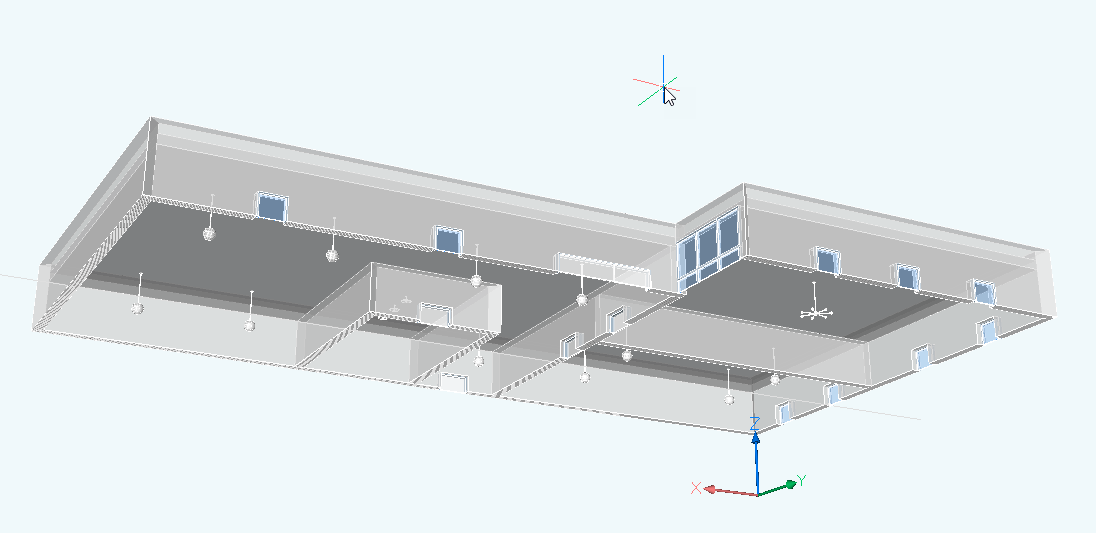
The reflected ceiling section has now been defined. To view hover over the
section and select Clip display from the Quad.
To generate the reflected ceiling plan on a sheet, hover over the section in
the model and select Generate Section from the
Quad.
To open the section result drawing click Open Model.
The sheet is saved to the same folder that contains the model drawing.
If you need more help with how to generate drawings, visit the
Generating Drawings page.
If you want to annotate your drawings, see how to add tags and linear
dimensions.